
What we need, and why it's only three numbers
Width, projection and height. That's the starting set. We are not asking you to produce manufacturing drawings — we re-measure everything on site before anything is made. What these numbers do is let us quote the right system at roughly the right size, so the figure you get is realistic rather than a guess.
- Width — along the wall the awning will attach to, or across the opening you want to enclose
- Projection — how far out from the wall the cover needs to reach
- Height — from the paving or slab to where the structure will fix
How to take them
A standard tape measure and a second pair of hands. Measure in metres to one decimal place — 6.4 m is plenty precise. Take the width at both ends rather than once in the middle: older slabs and walls are rarely square, and if the two numbers differ, that's genuinely useful information for us, not a problem you need to solve.
The photos matter more than the numbers
If you only do one thing well, do this. Send:
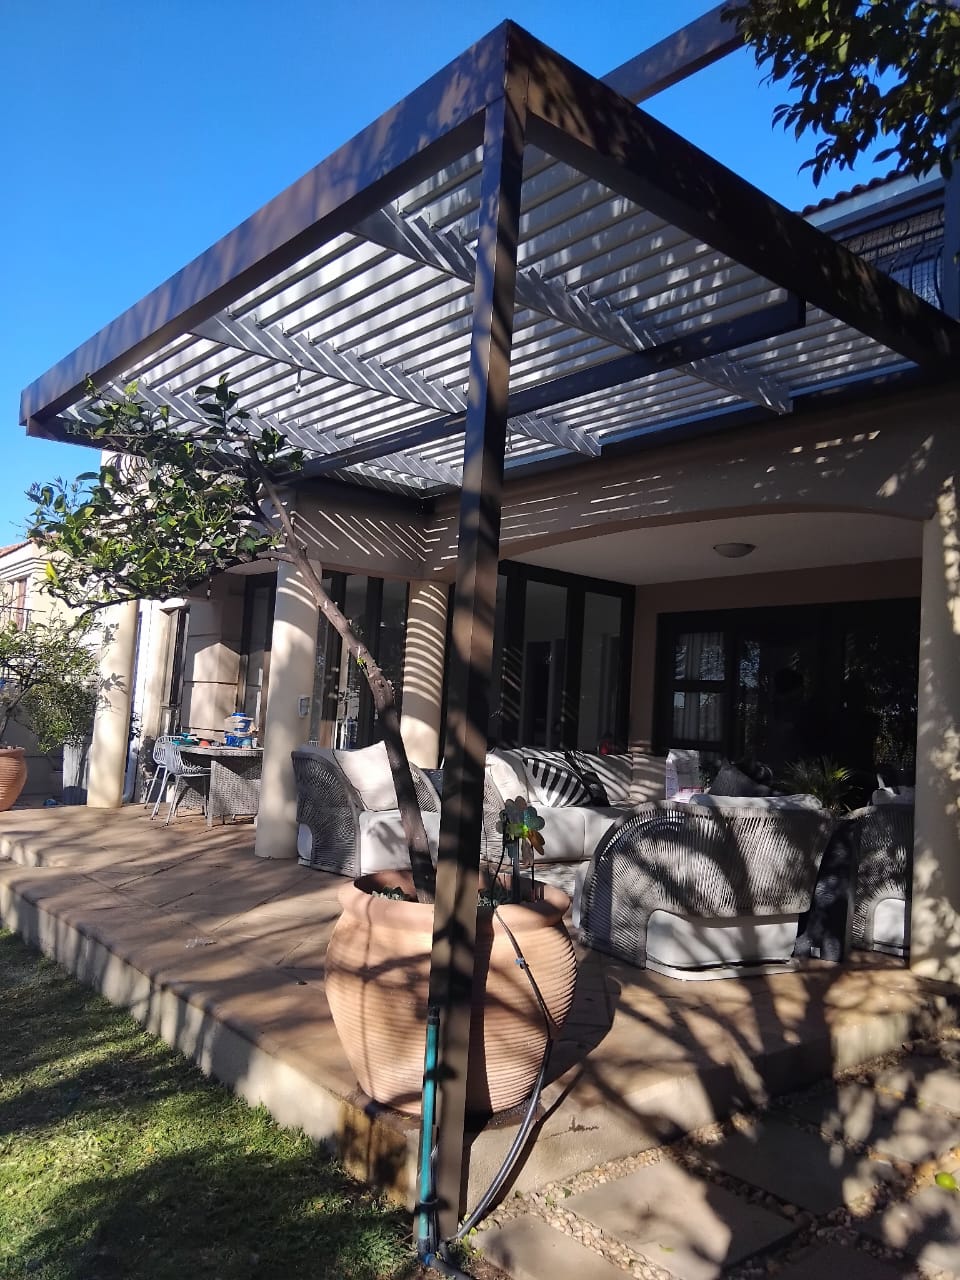
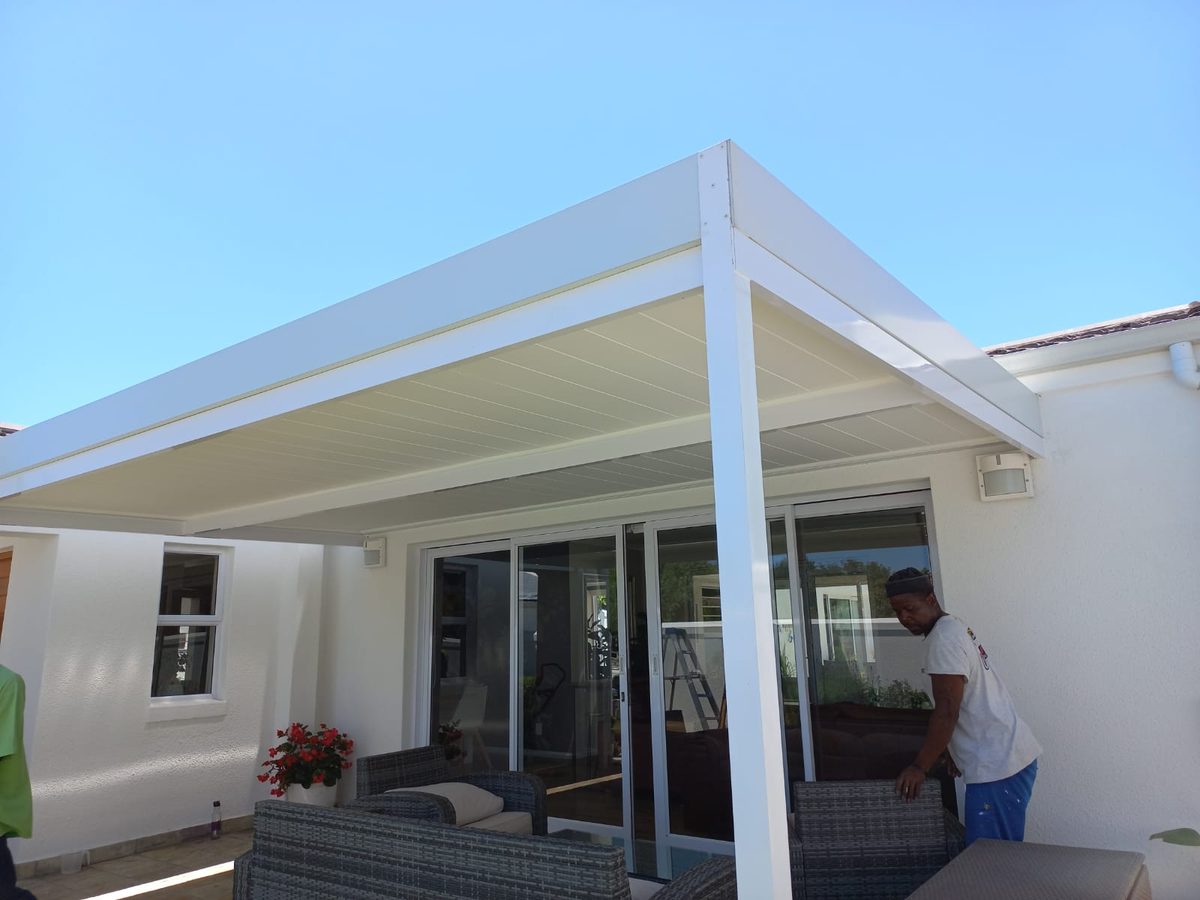
- One wide shot showing the whole area, taken far enough back to include the roofline above
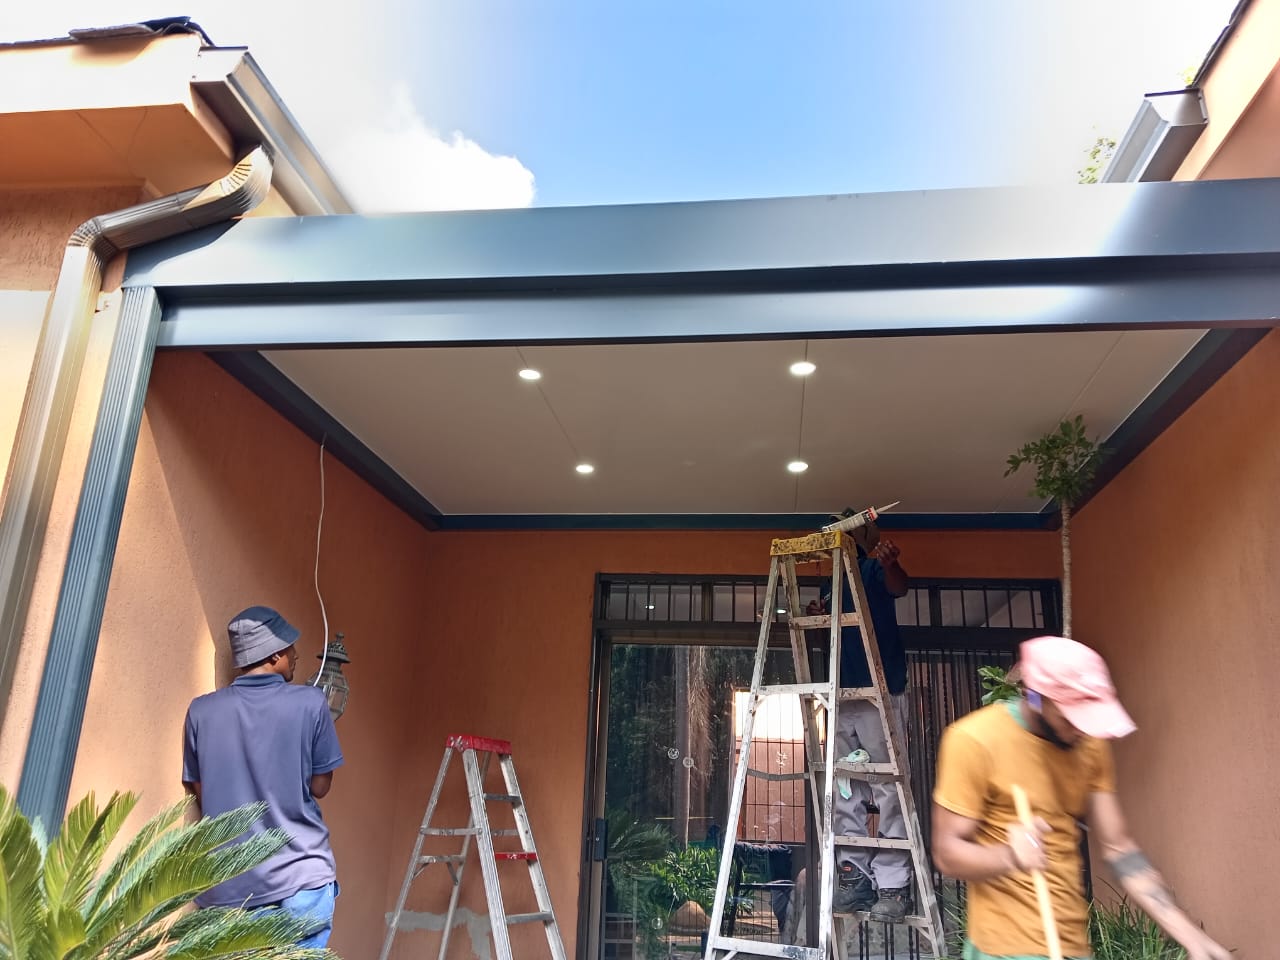
- One shot of the wall or fascia the system will fix to
- One showing where your existing downpipes and stormwater run
- Anything awkward — a step, a pillar, a tree, an air-conditioning unit, a boundary wall close by
Common mistakes
| Mistake | Why it matters |
|---|---|
| Measuring the slab, not the cover | The roof often needs to extend past the paving |
| Forgetting height | It drives water fall and headroom under the structure |
| Cropping the photo tight | We lose the roofline and fixing context |
| Ignoring stormwater | Downpipe routing is a real part of the design |
| Chasing millimetres | That's our job, on site, before manufacture |
Send it through
Email or WhatsApp the photos with your three numbers and we'll come back with a tailored quote. Our downloadable measurement guide walks through the same process with diagrams if you'd rather follow along on paper. Every dimension is confirmed on site before anything is manufactured.