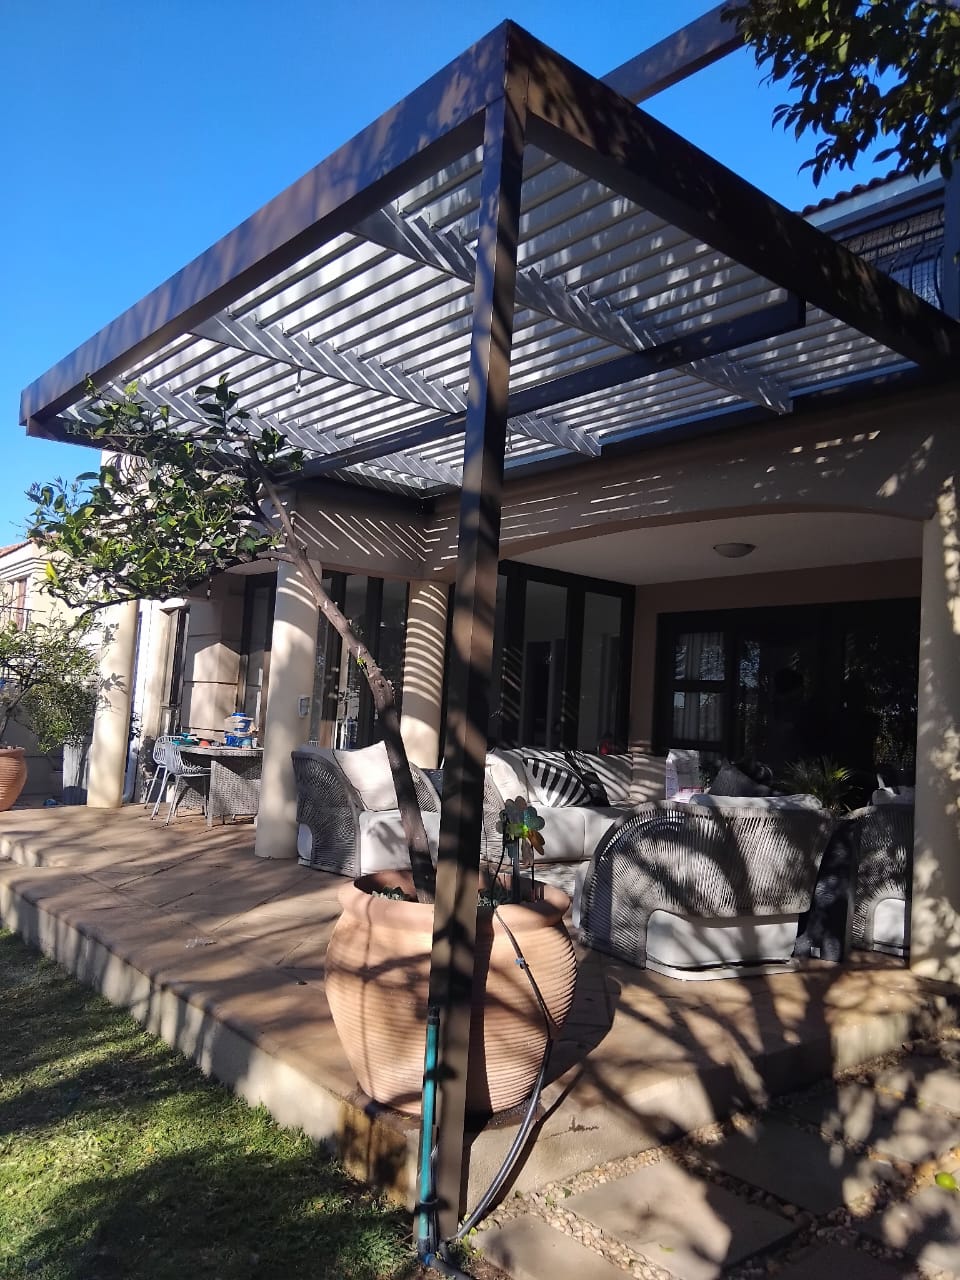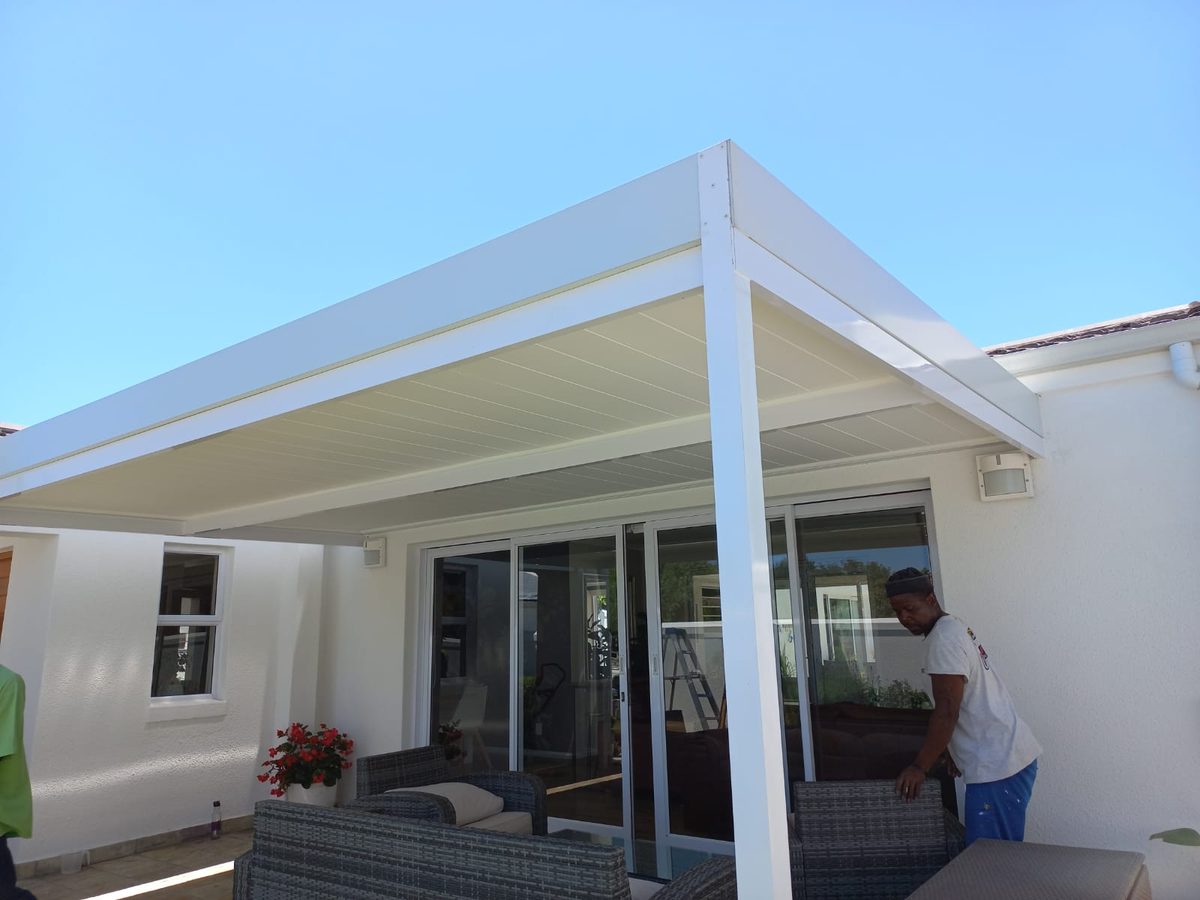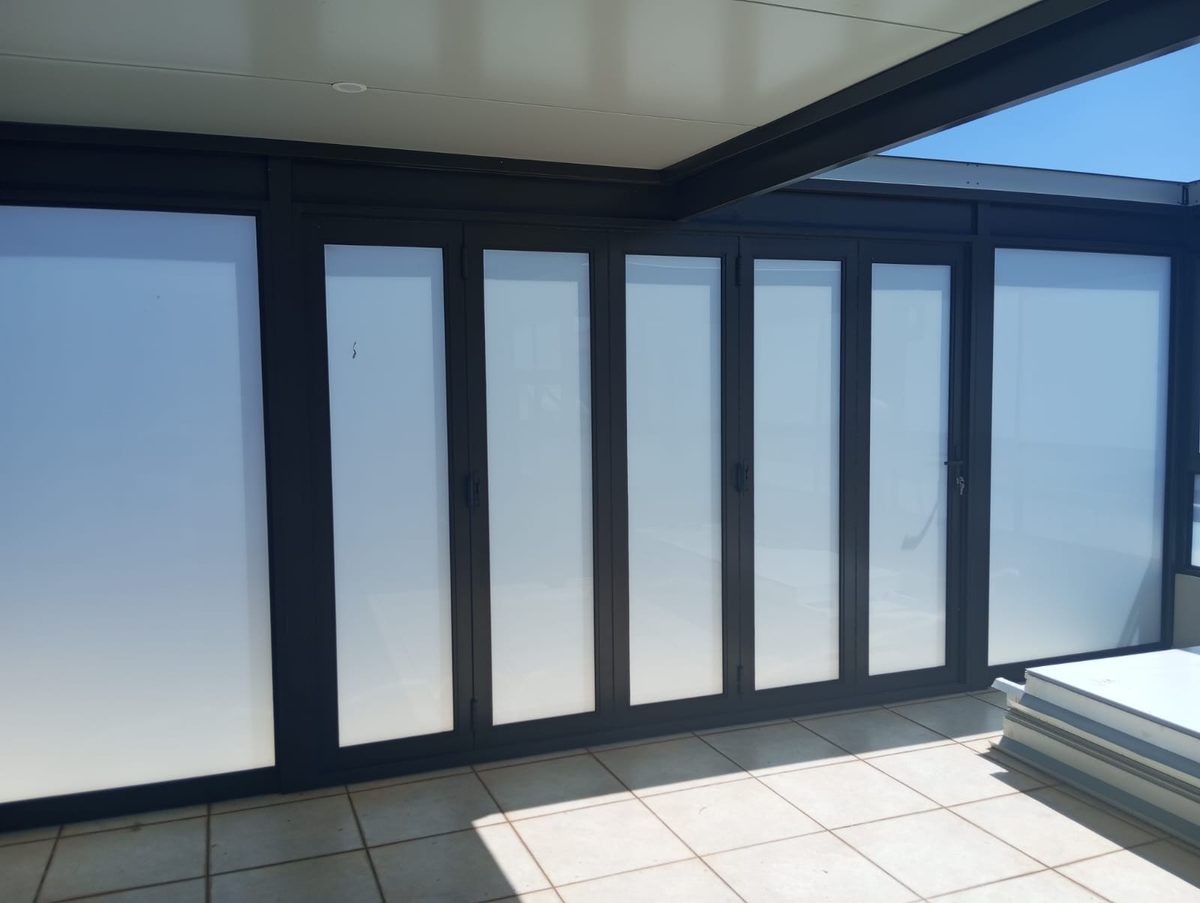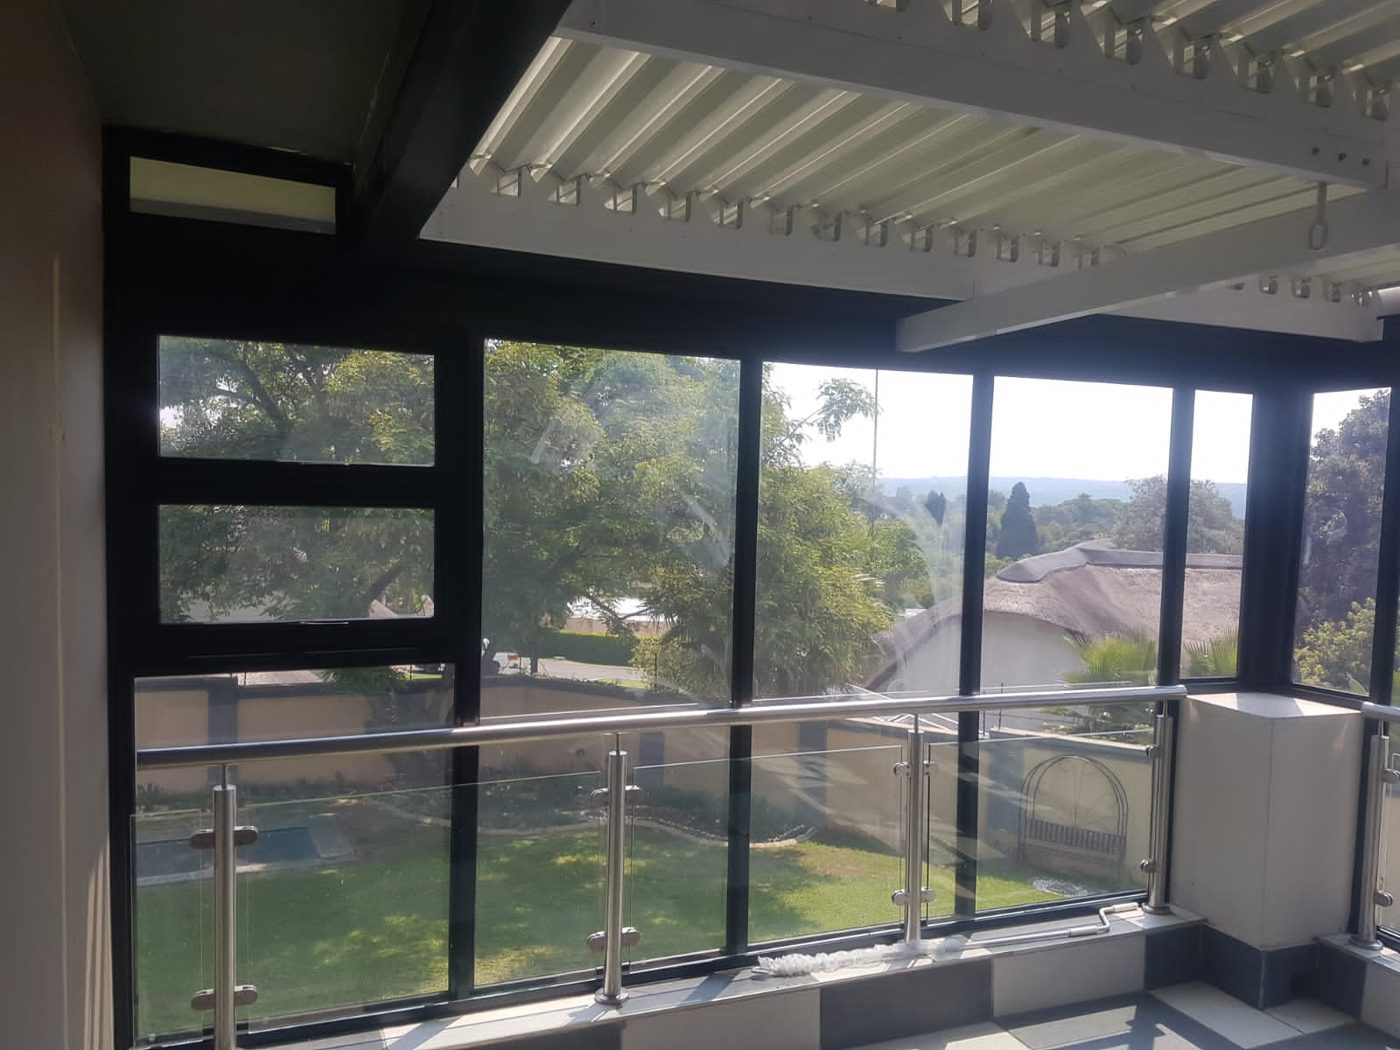

The order that works
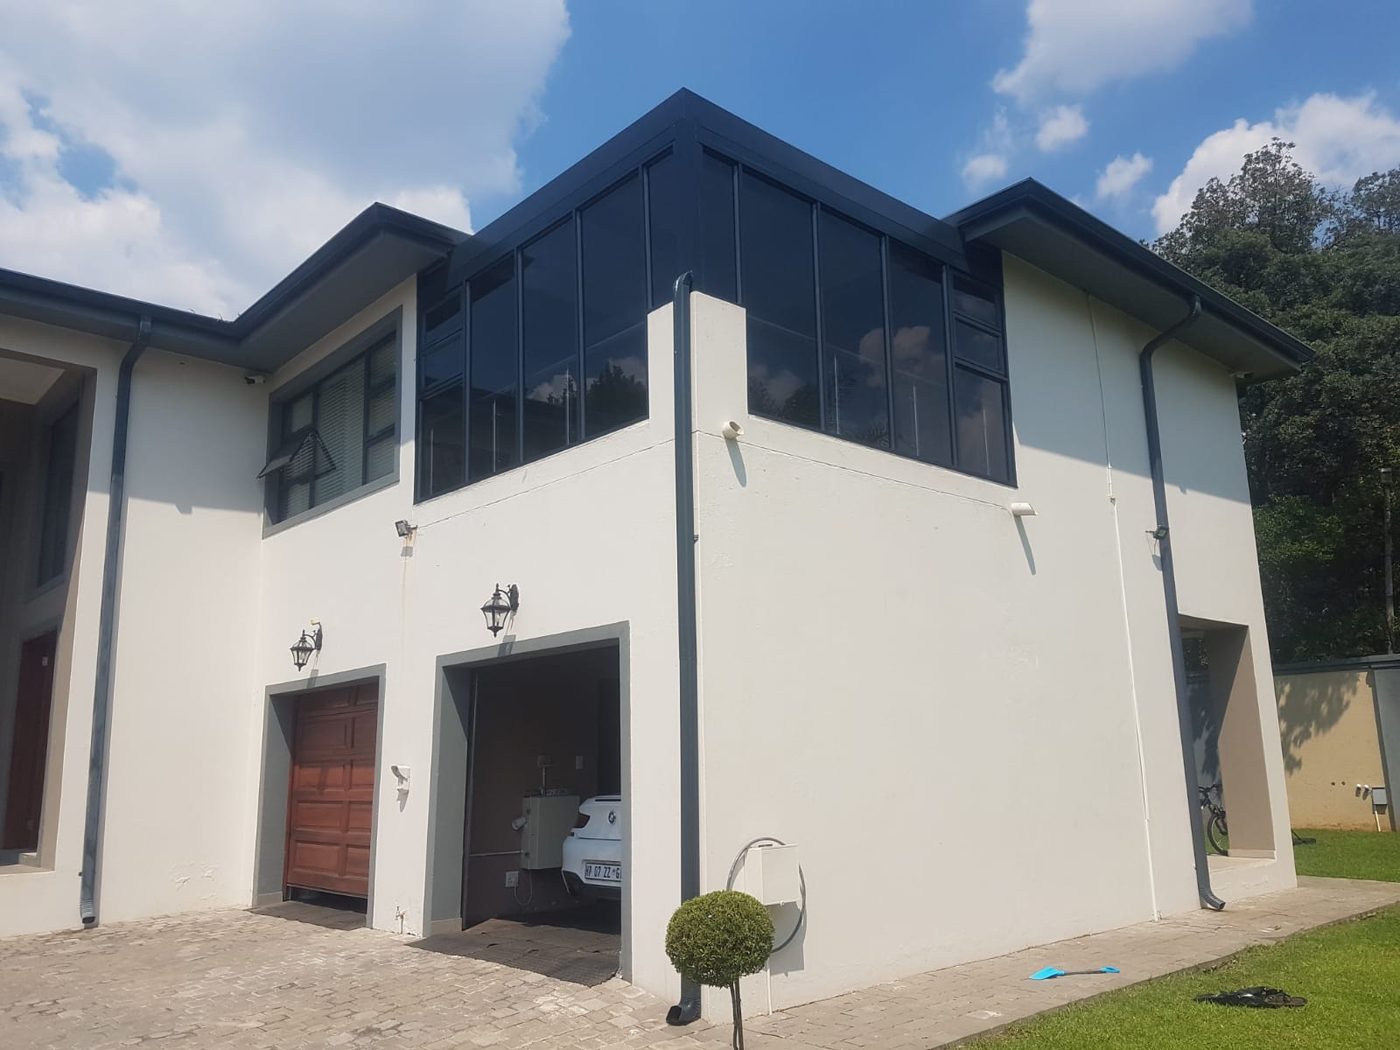
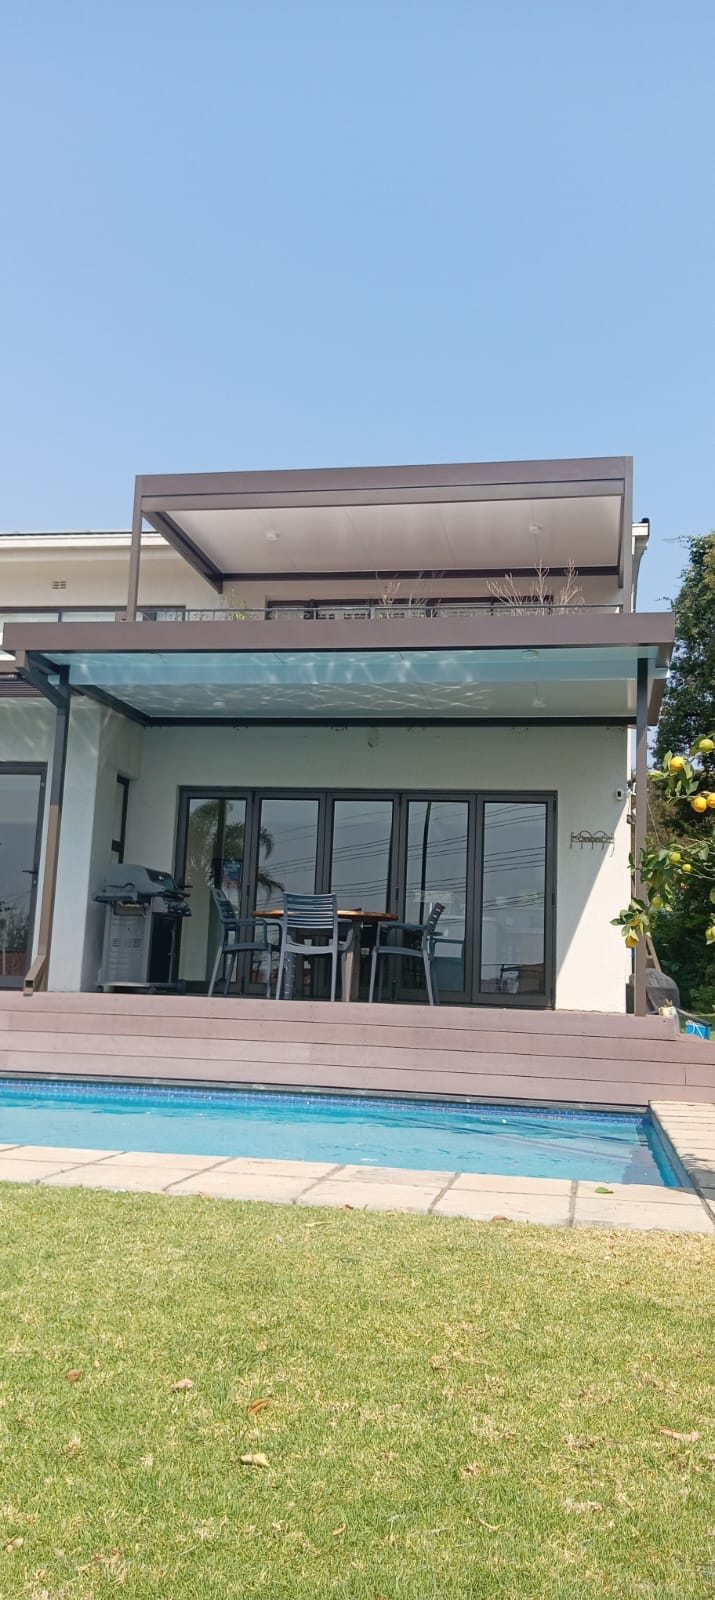
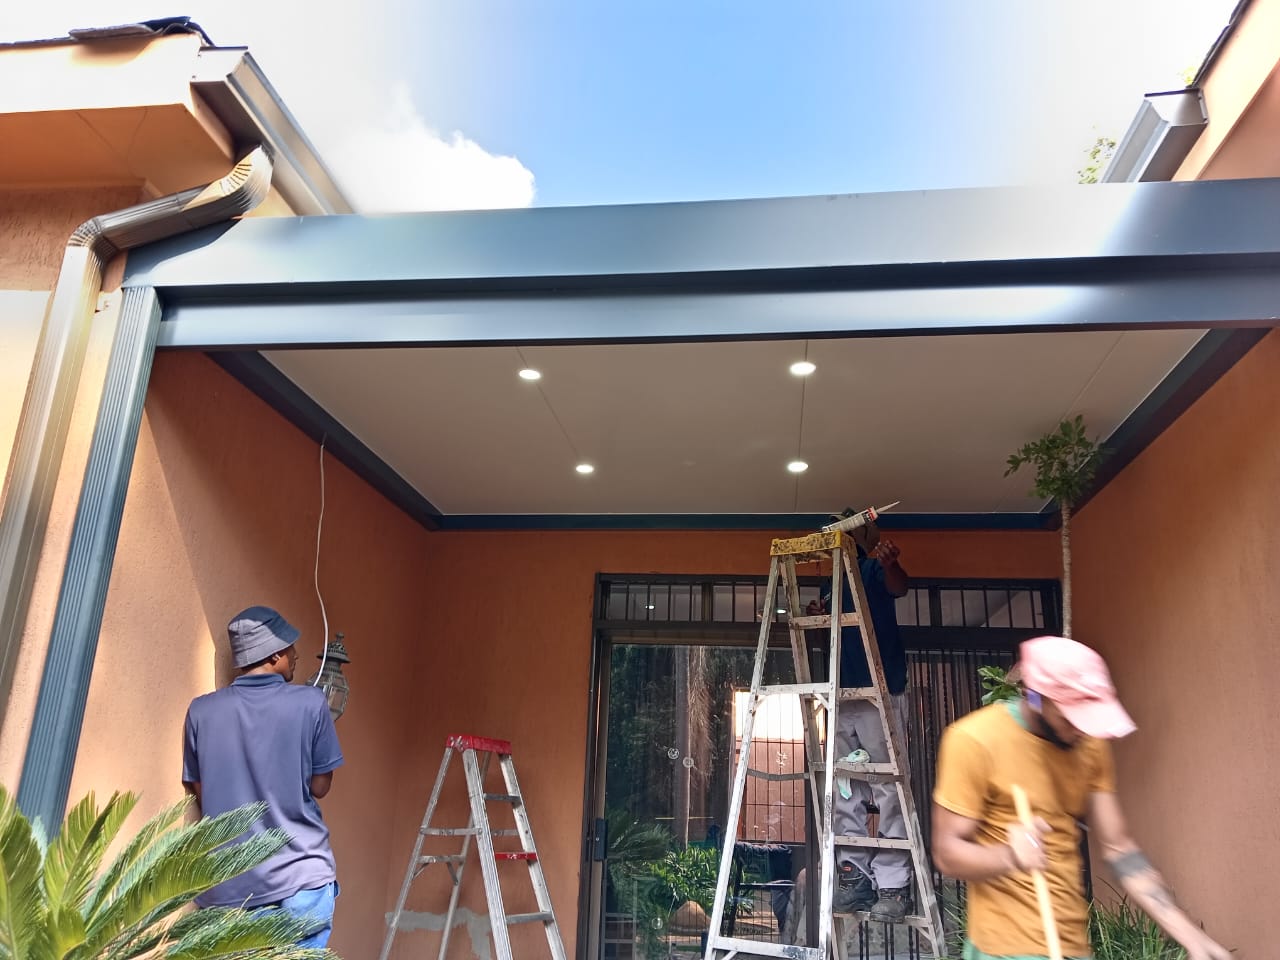
Ceiling first, then doors. It's the sequence most Patio Projex conversions follow and there's a practical reason for it. An insulated patio ceiling is what makes the space usable year-round — it's insulated against summer heat and carries double-roof rain protection. The doors are what turn a covered patio into a closed room. Do the ceiling and you already have a better space; add the doors and you have a room.
It also means you can split the project across seasons. Plenty of clients fit the ceiling in one year and enclose the following one. Tell us that's the plan and we specify the ceiling to be enclosed later, which makes the second phase straightforward instead of a rework.
Choosing the enclosure system
| System | Panels | Best for |
|---|---|---|
| Stack folding (vista) | 2–7 | Making a whole wall disappear |
| Palace sliding | 2, 3, 4 or 6 | Large panels, slim profiles, keeping a view |
| Multi-slider | Configurable | Exposed openings — rated for severe wind |
| Patio enclosure sliders | 2–6 | The affordable route to a sealed space |
| Hinge doors | Single or double | Simple, standard, most affordable access |
| Casement windows | — | Controlled ventilation, top- or side-hung |
| Fixed glass panels | — | A wall alternative that keeps the light |
Don't seal it completely
The mistake worth avoiding: enclosing a patio entirely in fixed glazing and large sliding panels, then discovering there's no way to get air through it without opening the whole wall. A couple of casement windows — top- or side-hung, draught-sealed — give you controlled ventilation on a mild day. It's a small line item that changes how the room actually gets used.
Glazing, locking and security
All our glass is shatterproof as standard, with single or double glazing per opening, and every door and window is weather-sealed with keyed locking. Because the enclosure becomes a room with an external boundary, it's worth deciding at quote stage which openings need to lock and which are fixed.
What to send us
A photo of the patio, rough width and height for each opening, and a note on which direction the main glazing faces and how many panels you think the span needs. We'll confirm the configuration, glazing and panel count, and verify every dimension on site before manufacture. Aluminium systems carry a 15-year guarantee.